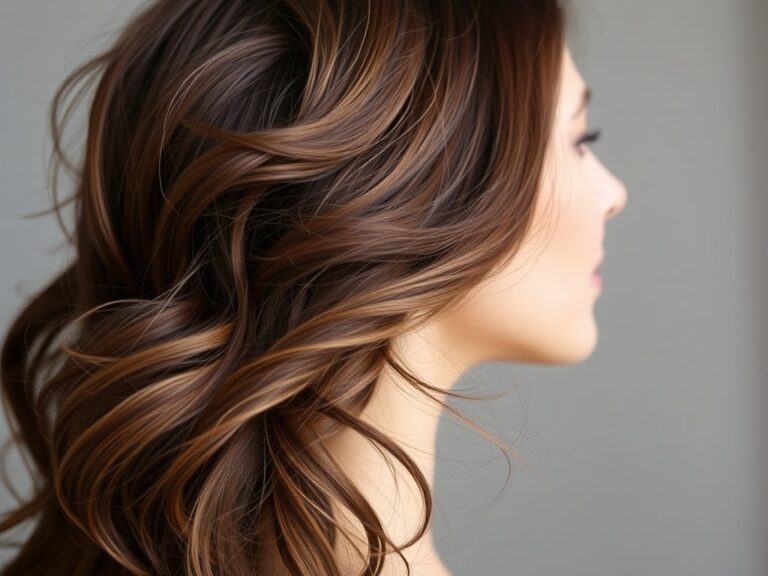

I’ve been researching ways to trim hair at home without thinning for quite some time now. In my experience, finding the right techniques can make all the difference, allowing us to maintain our hair’s fullness while still achieving a polished look. I want to share what I’ve learned about how to trim hair at home without thinning so that you can feel confident in your skills.
When I first started this journey, I was overwhelmed by the thought of cutting my hair. However, I’ve discovered that with the right approach, it’s totally manageable. The key is to trim hair at home without thinning, which means focusing on technique and using the right tools. Join me as I dive into the essentials that will help you achieve a salon-quality style in the comfort of your home!
My Journey to Trim Hair at Home Without Thinning
Discovering the Right Techniques
In my quest to trim hair at home without thinning, I spent countless hours researching and practicing. I’ve learned that the most crucial aspect is to understand the different cutting techniques. For instance, using the point-cutting method has been a game changer for me. Instead of creating blunt ends, this technique allows for a more natural, feathered look.
I remember the first time I tried point cutting; I was nervous, but the results were fantastic! The key is to take small sections of hair and snip into the ends with the scissors held vertically. This technique helps to maintain volume and texture, which is essential when I want to keep my hair looking full.
Gaining Confidence with Practice
<I’ve realized that practice is essential when learning to trim hair at home without thinning. The first few times I cut my hair, I was apprehensive about making mistakes. However, I found that the more I practiced, the more comfortable I became. I recommend starting with minor trims before moving on to more significant changes.
Having a friend or family member assist can also be beneficial. I had a friend help me during one of my trimming sessions, and it made the process much easier. We were able to check each other’s work, which gave us both more confidence in our abilities. Remember, the goal is to refine your skills gradually!
Essential Tools for Home Hair Trimming
Investing in Quality Scissors
From what I’ve learned, the tools you use can significantly impact your results when you trim hair at home without thinning. I can’t emphasize enough the importance of investing in a good pair of hair cutting scissors. Regular scissors can cause split ends and uneven cuts, so I recommend getting a pair specifically designed for hair.
After trying various brands, I finally settled on a pair that’s sharp and comfortable to use. The difference was immediately noticeable. I also keep a pair of thinning shears handy for layering, which adds dimension without sacrificing volume.
Other Necessary Tools
Beyond scissors, I’ve discovered that having the right tools can make trimming hair at home much easier. A fine-tooth comb is essential for sectioning hair and ensuring even cuts. I find that using clips to hold sections in place helps me focus on one area at a time without getting overwhelmed.
Additionally, a mirror setup that allows you to see the back of your head is invaluable. I often use two mirrors positioned at angles to get a complete view. This way, I can ensure that I’m trimming evenly and effectively, making the process smoother and more efficient.
Step-by-Step Guide to Trim Hair at Home Without Thinning
Preparing Your Hair
Before diving into trimming, I’ve found that preparing my hair is essential. I usually start by washing and drying my hair, as it helps me see the natural fall and texture. If I’m planning to trim hair at home without thinning, I always ensure my hair is free of any tangles or knots. This preparation allows for a smoother cutting experience.
After drying, I section my hair into manageable parts using clips. This approach helps me focus on one section at a time, making it easier to achieve a clean cut. I recommend working with the hair in smaller sections, especially if you’re new to trimming.
The Cutting Process
Now comes the fun part! I’ve developed a simple method for cutting my hair that minimizes the risk of thinning. I usually start from the back and work my way to the front. With each section, I hold the hair at a 90-degree angle from the head and begin cutting small amounts off the ends. This technique ensures that I’m not taking too much off in one go.
As I cut, I constantly check for evenness. If I notice any discrepancies, I take a little more off until I’m satisfied with the length. I find that taking my time during this process is crucial to achieving the desired look while ensuring I trim hair at home without thinning.
Tips and Tricks for Achieving a Professional Finish
Finishing Touches
Once I’ve finished cutting, I like to add some finishing touches to enhance the overall look. One of my favorite tricks is to use a texturizing spray or a light mousse, which helps define the layers I’ve created. This step adds volume and gives my hair that professional salon finish.
I’ve also found that a quick blow-dry can make a significant difference. Using a round brush while blow-drying helps to lift the roots and create a soft, bouncy finish. It’s amazing how these little tweaks can elevate my hair from a simple trim to a polished style.
Regular Maintenance
After successfully learning to trim hair at home without thinning, I’ve realized that regular maintenance is key. I aim to trim my hair every 6-8 weeks to keep it looking fresh and healthy. Scheduling these trims as part of my routine keeps my hair in optimal condition and helps me avoid drastic cuts.
Additionally, I recommend keeping a hair care diary to track what works for you. Documenting your experiences can help refine your technique and ensure that you’re always achieving the best results possible.
References and Resources
Throughout my research on trim hair at home without thinning, I’ve found these resources incredibly valuable. I recommend checking them out for additional insights:
Authoritative Sources on Trim Hair at Home Without Thinning
- Hairdressing Techniques for Home Use
Hairdressing.govA comprehensive guide on various hair cutting techniques and tips for maintaining hair health.
- Essential Hair Care Practices
Haircare.eduEducational insights into the best practices for hair trimming and styling.
- Expert Advice on Home Hair Cutting
Haircuttingexperts.comProfessional tips for achieving salon-quality results at home.
- The Science of Hair Cutting
Hairstyling.orgResearch-backed insights into effective hair styling and cutting techniques.
- Hair Care Professionals’ Tips
Haircareprofessionals.comExpert recommendations for maintaining healthy hair while trimming at home.
- Hairstyling Gurus: Home Trimming
Hairstylinggurus.comA wealth of knowledge on the best practices and techniques for home hair trimming.
- Hair Care Insights
Haircareinsights.comInformative articles on hair care and cutting techniques.
- The Hairstyling Journal
Hairstylingjournal.comA great resource for learning about the latest trends and techniques in hair styling.
Frequently Asked Questions
What are the best techniques to trim hair at home without thinning?
In my experience, the best techniques involve using point cutting and taking small sections to avoid thinning. I recommend practicing regularly to build confidence while ensuring you maintain your hair’s fullness.
How often should I trim my hair at home?
From what I’ve learned, trimming every 6-8 weeks is ideal for maintaining healthy hair. This frequency helps avoid split ends while allowing you to trim hair at home without thinning effectively.
Can I achieve salon-quality results at home?
Absolutely! I’ve achieved great results by using the right tools and techniques. With practice, I believe anyone can trim hair at home without thinning and create a professional look.
What tools do I need for trimming hair at home?
I recommend investing in quality hair cutting scissors, a fine-tooth comb, and clips to section your hair. These basic tools have made a significant difference in my ability to trim hair at home without thinning.
Conclusion
In conclusion, my research on trim hair at home without thinning has shown me that with the right techniques and tools, achieving salon-quality styles is within everyone’s reach. I hope this guide helps you feel more confident in your ability to maintain your hair at home. Remember, practice makes perfect, and the more you trim, the better you’ll become!
Find out more information about “trim hair at home without thinning”
Search for more resources and information: