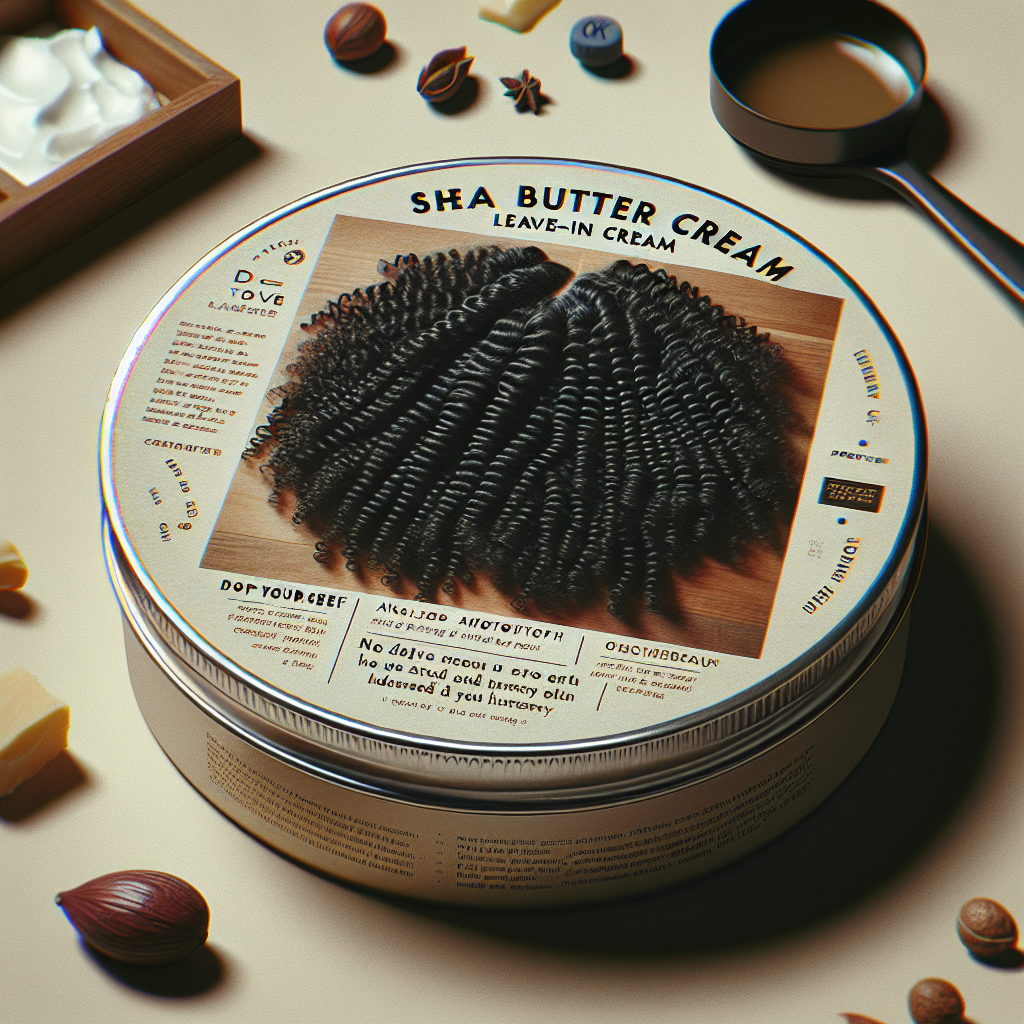
I’ve been researching the benefits of a DIY shea butter leave-in cream for quite some time now, and I can’t wait to share my insights with you! In my experience, this creamy concoction not only hydrates my hair but also leaves it feeling incredibly soft and manageable. I believe that everyone deserves to pamper their tresses, and a DIY shea butter leave-in cream is an excellent way to do just that.
When I first started my journey into the world of hair care, I discovered that many commercial products contained harsh chemicals that didn’t align with my goals for healthy hair. That’s when I began experimenting with a DIY shea butter leave-in cream. The results have been nothing short of amazing! I want to share my recipe and tips with you so you can experience the same luxurious hydration.
Why I Love DIY Shea Butter Leave-In Cream
My Journey with DIY Shea Butter Leave-In Cream
In my journey towards healthier hair, I’ve found that a DIY shea butter leave-in cream was a game-changer. I started using it during the dry winter months when my hair was craving moisture. The rich, creamy texture of shea butter instantly transformed the way my hair felt. It became softer, shinier, and much more manageable.
From what I’ve learned, the key to maintaining healthy hair is hydration, and this leave-in cream delivers just that. I remember the first time I applied my homemade cream—I was amazed at how quickly it absorbed into my hair without leaving a greasy residue. This experience taught me the importance of using natural ingredients in my hair care routine.
Benefits I’ve Experienced
One of the most significant benefits I’ve experienced with my DIY shea butter leave-in cream is the reduction in breakage. For years, I struggled with split ends and dry strands. After incorporating this cream into my routine, I noticed a marked difference. My hair became stronger and healthier, and I no longer feared the scissors!
I also love how versatile this cream is. Whether I want to define my curls or protect my hair during heat styling, my DIY shea butter leave-in cream has got my back. It’s a true multi-tasker that has made my hair care routine not only simpler but also more enjoyable.
Ingredients for My DIY Shea Butter Leave-In Cream
Core Ingredients
When I set out to create my DIY shea butter leave-in cream, I wanted to ensure that I used the best ingredients. The star of the show is, of course, shea butter. I recommend using unrefined shea butter for its maximum benefits, as it retains more nutrients than its refined counterpart.
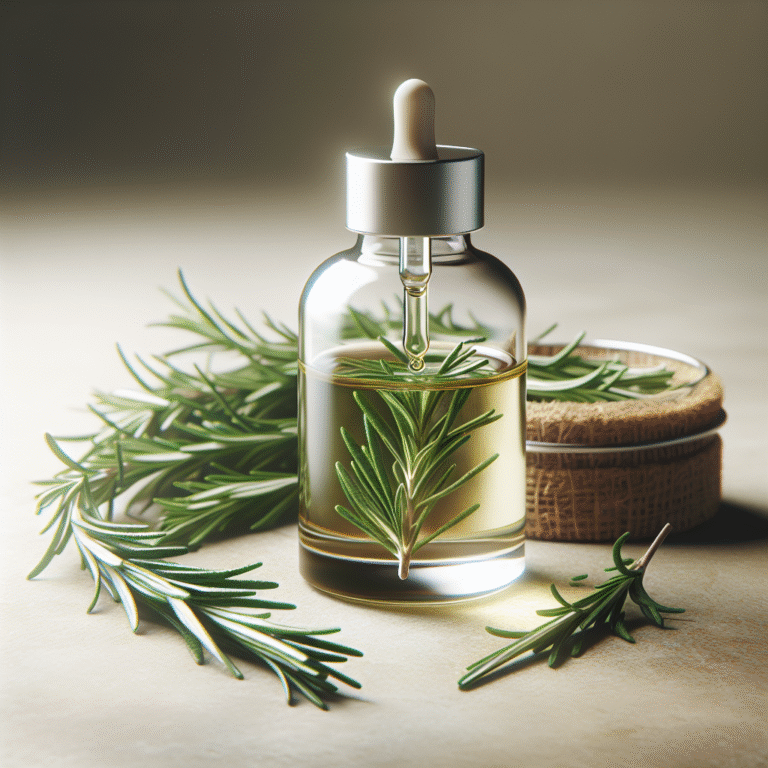
In addition to shea butter, I’ve found that incorporating coconut oil enhances the cream’s moisture-boosting properties. Coconut oil penetrates the hair shaft, providing deep hydration that lasts. I also like to add a few drops of essential oils, such as lavender or rosemary, for a lovely scent and additional conditioning benefits.
Optional Add-Ins
While the core ingredients are fantastic on their own, I enjoy experimenting with optional add-ins to personalize my DIY shea butter leave-in cream. For instance, I’ve added aloe vera gel for an extra moisture boost, which I highly recommend if you’re dealing with particularly dry hair.
Another great addition is vitamin E oil, which not only nourishes the hair but also acts as a natural preservative. I’ve learned that customizing my recipe allows me to cater to my hair’s changing needs throughout the seasons.
Step-by-Step Guide to Making DIY Shea Butter Leave-In Cream
Gathering My Ingredients
Before I start, I gather all my ingredients for the DIY shea butter leave-in cream. You’ll need shea butter, coconut oil, and any optional add-ins you choose. I also make sure to have a mixing bowl, a hand mixer, and a container for storage ready to go. This preparation ensures the process is smooth and enjoyable.
I’ve found that having everything organized not only makes for a more efficient experience but also helps me stay focused on creating the perfect blend. Once I have everything in place, I feel excited to get started!
Mixing It All Together
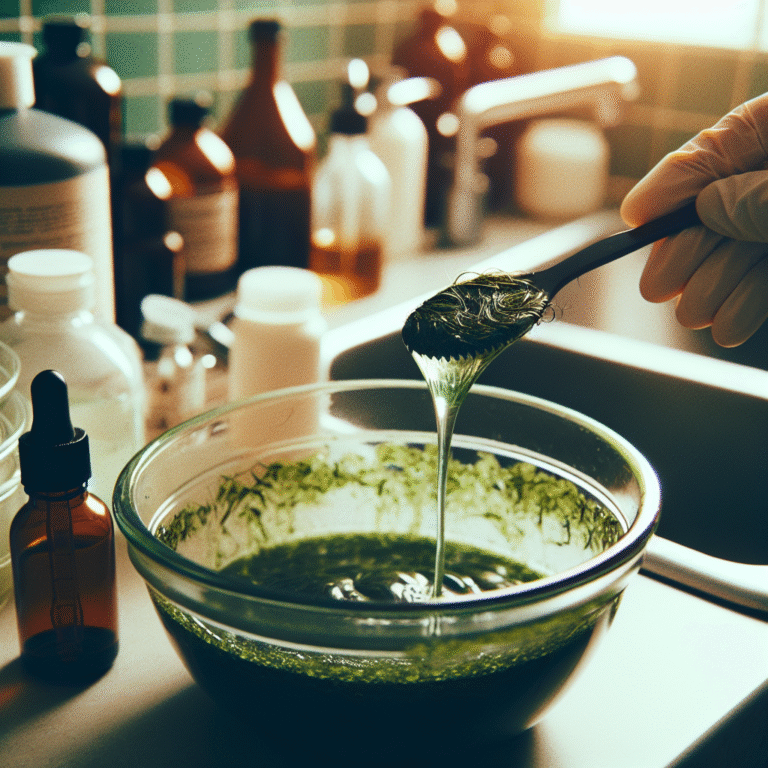
To create my DIY shea butter leave-in cream, I begin by melting the shea butter and coconut oil together in a double boiler. I love this method because it prevents the oils from overheating and losing their beneficial properties. Once melted, I let the mixture cool slightly before adding any essential oils or optional ingredients.
Next, I use a hand mixer to whip the mixture until it becomes light and fluffy. It’s fascinating to see how the texture changes, and I always feel a sense of satisfaction when I see the final product. Whipping the cream not only enhances the texture but also helps it absorb into my hair more easily.
Tips for Using My DIY Shea Butter Leave-In Cream
Application Techniques
When it comes to applying my DIY shea butter leave-in cream, I’ve discovered that a little goes a long way. I typically start with a small amount, warming it between my palms before applying it to my damp hair. This method ensures even distribution and prevents overloading my strands.
I’ve learned that applying the cream while my hair is still damp helps lock in moisture, making it more effective. I focus on the ends of my hair, which tend to be drier, and work my way up towards the roots. This technique has significantly improved the overall hydration of my hair.
Frequency of Use
In my experience, the frequency of using my DIY shea butter leave-in cream can vary based on my hair’s needs. On average, I use it every other day or after washing my hair. However, if I notice my hair feeling particularly dry, I won’t hesitate to apply it more frequently.
I’ve also found that this cream works well as a protective styling aid. When I braid or twist my hair, I make sure to apply the leave-in cream beforehand to keep my hair hydrated and reduce frizz. This practice has made a noticeable difference in the longevity of my styles!
References and Resources
Throughout my research on DIY shea butter leave-in cream, I’ve found these resources incredibly valuable. I recommend checking them out for additional insights:
Authoritative Sources on DIY Shea Butter Leave-In Cream
-
The Benefits of Shea Butter for Skin and Hair
ncbi.nlm.nih.govThis article explores the numerous benefits of shea butter, providing a scientific basis for its use in hair care.
-
Shea Butter: Benefits and Uses
healthline.comHealthline provides a comprehensive overview of shea butter’s benefits, particularly for moisturizing hair and skin.
-
How to Use Shea Butter for Hair Care
byrdie.comA great resource for tips on incorporating shea butter into your hair care routine.
-
Natural Oils for Hair Care
ncbi.nlm.nih.govThis study discusses the benefits of natural oils, including coconut oil, for hair health.
-
Is Shea Butter Good for Hair?
verywellhealth.comVerywell Health explains how shea butter can improve hair texture and moisture retention.
Frequently Asked Questions
What are the main benefits of DIY shea butter leave-in cream?
In my experience, the main benefits of using a DIY shea butter leave-in cream include intense hydration, reduced breakage, and enhanced manageability. It has transformed my hair by providing the moisture it craves without any harsh chemicals.
How often should I use my DIY shea butter leave-in cream?
I’ve found that using my DIY shea butter leave-in cream every other day or after washing my hair works best for me. However, if my hair feels particularly dry, I don’t hesitate to apply it more often.
Can I customize my DIY shea butter leave-in cream?
Absolutely! I love customizing my DIY shea butter leave-in cream by adding essential oils or additional moisturizers like aloe vera. This personalization allows me to cater to my specific hair needs.
Is DIY shea butter leave-in cream suitable for all hair types?
From my research, I’ve found that a DIY shea butter leave-in cream can be beneficial for most hair types, especially those that tend to be dry or frizzy. It’s always best to test a small amount first to see how your hair responds.
Conclusion
In conclusion, my research on DIY shea butter leave-in cream has shown me that this simple yet effective recipe can transform your hair care routine. I hope this guide helps you create your own luxurious leave-in cream that delivers ultimate hydration. Based on my experience, you’ll be amazed at how your hair feels after just a few uses!
Find out more information about “DIY shea butter leave-in cream”
Search for more resources and information: