Beginner’s Guide to Nail Art: Tools, Techniques, and Easy Designs
Nail art is more than just a beauty trend—it’s an accessible, creative way to express your personality through your fingertips. If you’re new to nail art for beginners, this guide will walk you through the essentials: must-have tools, beginner-friendly techniques, and easy nail designs you can master at home. Whether you’re seeking a new DIY hobby or dreaming of salon-worthy nails, this in-depth guide is your starting point.
Table of Contents
- Essential Nail Art Tools for Beginners
- Basic Nail Art Techniques to Master
- Step-By-Step Easy Nail Designs
- Real-Life Case Studies: Beginner Success Stories
- Troubleshooting Common Nail Art Mistakes
- Maintaining Your Nail Art: Tips for Longevity
- Additional Resources & Internal Links
- Actionable Takeaways
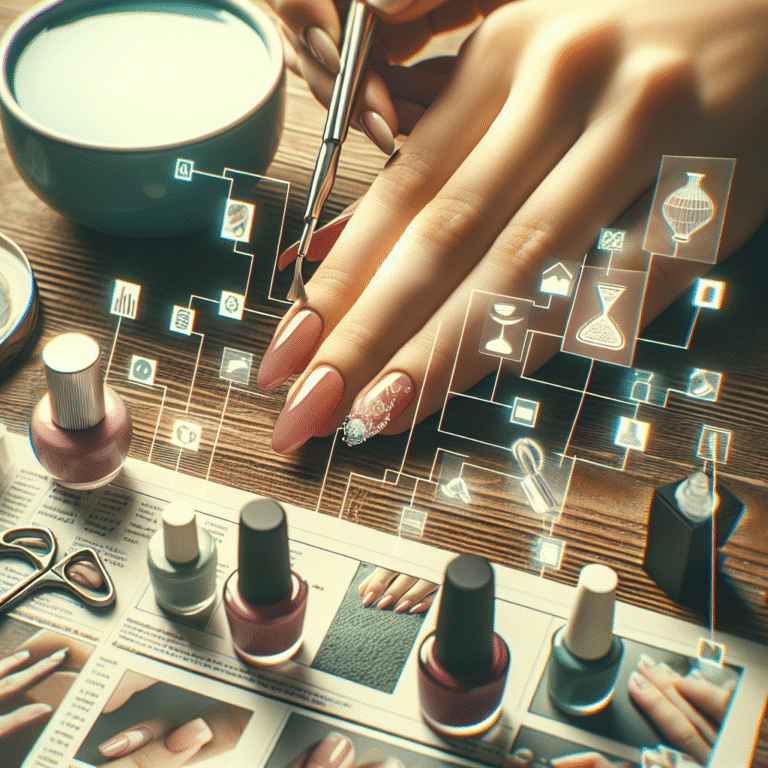
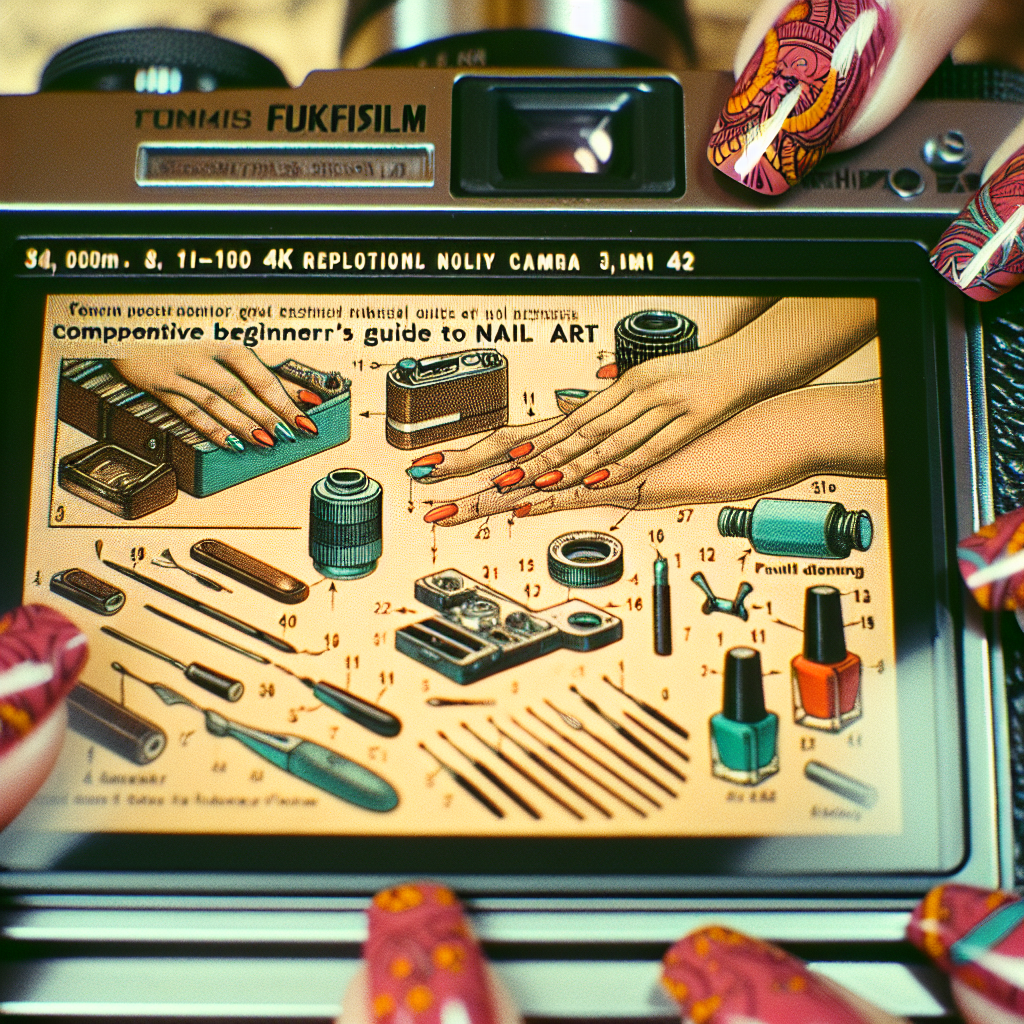
1. Essential Nail Art Tools for Beginners
Before you start painting, gather these nail art tools—you don’t need a professional kit to create beautiful designs, but the right basics will make a big difference:
- Nail File & Buffer: For shaping and smoothing the nail surface.
- Base Coat & Top Coat: Prevents staining, smooths application, and increases longevity.
- Dotting Tools: For creating perfect dots and polka dot designs in various sizes.
- Detail Brushes: Thin, fine brushes for lines, stripes, and intricate patterns.
- Striping Tape: Thin tape for straight lines or geometric shapes.
- Cleanup Brush: A small angled brush to tidy up edges with nail polish remover.
- Sponges: For ombré, gradient, or sponge art effects.
- Nail Art Stickers & Decals: Instant designs that stick directly to the nail.
For more on selecting quality tools, check out our Best Nail Art Tools for Beginners guide.
Tool Recommendations for Every Budget
- Budget: Start with a dotting tool and a pack of striping tapes (often under $10 online).
- Mid-Range: Upgrade to a set of nail art brushes and a silicone mat for practicing designs.
- Premium: Invest in a UV/LED lamp for gel polish nail art and a professional brush set.
2. Basic Nail Art Techniques to Master
Mastering a few fundamental techniques will set you up for success. Here are the top beginner-friendly methods:
Dotting
Use a dotting tool or the rounded end of a bobby pin to create polka dots, flowers, or patterns. Vary the size by adjusting pressure or using different tool ends.
Striping
Use striping tape or a thin detail brush dipped in polish to create straight lines, grids, or geometric patterns.
Sponging
Apply different colored polishes to a makeup sponge and dab onto the nail for ombré or gradient effects.
Stickers & Decals
Peel and stick pre-made designs, then seal with a top coat. Ideal for quick, flawless art.
Freehand Art
With a fine brush, practice basic shapes like hearts, dots, and stripes. Start simple—precision improves with practice.
3. Step-by-Step Easy Nail Designs
Let’s put your new skills and nail art tools to work! Here are three easy nail designs with beginner-friendly, step-by-step tutorials.
Design 1: Classic Polka Dot Nails
- Apply base coat and let dry.
- Paint nails with your chosen base color.
- Dip a dotting tool in a contrasting polish and gently press dots onto the nail.
- Let dry, then apply top coat.
Design 2: Two-Tone Diagonal
- Apply base coat.
- Paint nails with the lighter shade; let dry.
- Place striping tape diagonally across each nail.
- Paint the exposed section with a darker color.
- Remove tape before polish dries. Finish with top coat.
Design 3: Gradient Ombré Nails
- Apply base coat and a base color.
- On a makeup sponge, apply stripes of two to three nail polish colors side by side.
- Dab the sponge onto your nail, gently blending the colors.
- Repeat for depth, clean up edges, and finish with top coat.
For more inspiration, see our Easy Nail Designs for Beginners gallery.
4. Real-Life Case Studies: Beginner Success Stories
Case Study 1: From Zero to Polka Dot Pro
Background: Sarah, a college student, started with no experience and just a dotting tool set. After following step-by-step tutorials, she quickly mastered polka dots and moved on to flower patterns. Her tip: “Start small and practice on paper first. Confidence is key!”
Case Study 2: Mastering Gradients with Minimal Tools
Background: Emily wanted salon-quality ombré nails but only had sponges and two polishes. She learned to layer polish on the sponge and dab lightly for a seamless blend. Her advice: “Don’t be afraid to clean up mistakes—a small angled brush and acetone work wonders.”
Case Study 3: Nail Art for Busy Professionals
Background: Alex, a working professional, used nail stickers and quick-dry top coats to achieve stylish looks in under 15 minutes. He recommends: “Stickers are a game changer if you’re short on time but want creative nails.”
5. Troubleshooting Common Nail Art Mistakes
- Smudges: Let each layer dry fully before adding the next. Quick-dry top coats help.
- Uneven Lines: Use striping tape or practice with a detail brush on paper.
- Messy Edges: Clean up with a small brush dipped in acetone.
- Bubbles: Apply polish in thin layers and avoid shaking bottles.
- Chipping: Always use a base and top coat, and seal nail tips with polish.
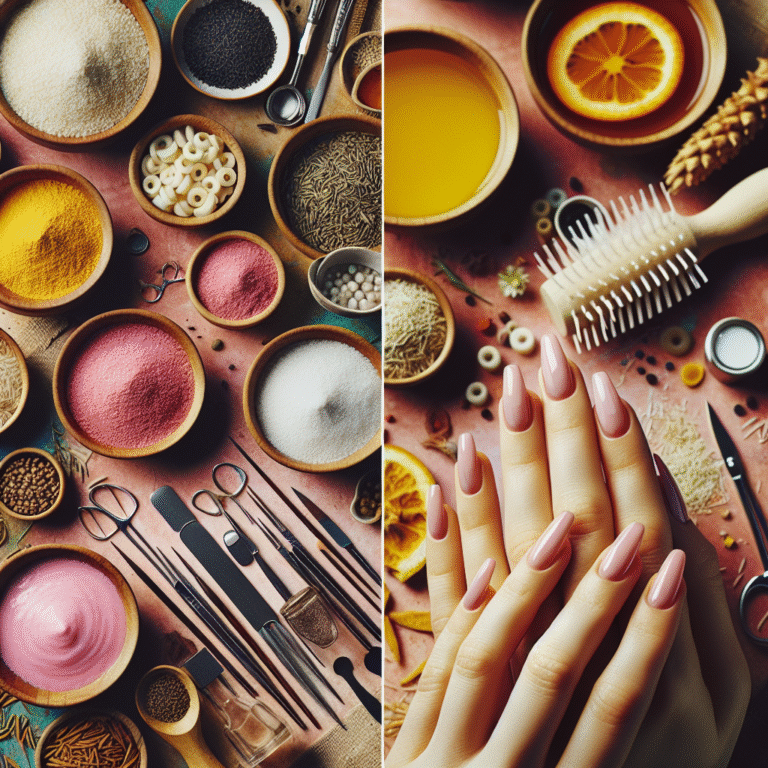
6. Maintaining Your Nail Art: Tips for Longevity
- Apply a fresh top coat every 2-3 days to protect your design.
- Avoid submerging hands in water for extended periods post-manicure.
- Use gloves for household chores.
- Moisturize cuticles and nails daily to prevent dryness and chipping.
7. Additional Resources & Internal Links
Ready to expand your skills? Explore our other guides:
- Best Nail Art Tools for Beginners
- Easy Nail Designs for Beginners
- How to Fix Common Nail Art Mistakes
- Nail Care Tips for Healthy Nails
8. Actionable Takeaways
- Start with a basic set of nail art tools and gradually upgrade as your skills improve.
- Practice fundamental techniques like dotting, striping, and sponging before moving to intricate art.
- Don’t be afraid of mistakes—cleanup tools and practice will help you improve.
- Protect your nail art with regular top coat applications and good nail care habits.
- Explore online tutorials, galleries, and community forums for ongoing inspiration and support.
Nail art is a journey—start simple, experiment boldly, and have fun! For more beginner-friendly guides, visit our Nail Art for Beginners Hub.